Setting up a Bacula lab

Overview of the lab
The lab will consist of 2 NixOS virtual machines running on my desktop on the same LAN. The first VM will be the all-in-one bacula server and the second VM will be the bacula client. I will be running the VMs using libvirt but the configuration should work with any virtualization software.
Installing NixOS using the GUI installer
Download the latest NixOS ISO from the NixOS website, I will be using GNOME, 64-bit Intel/AMD image.
Installing on a libvirt host
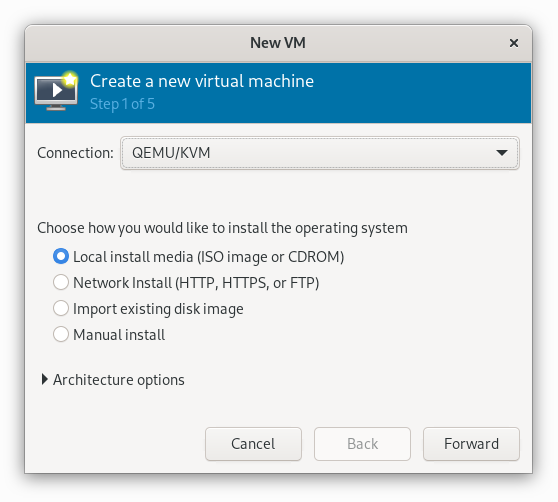
Step 1 of 5
Transfer the ISO to your virtualization software and create a new VM.
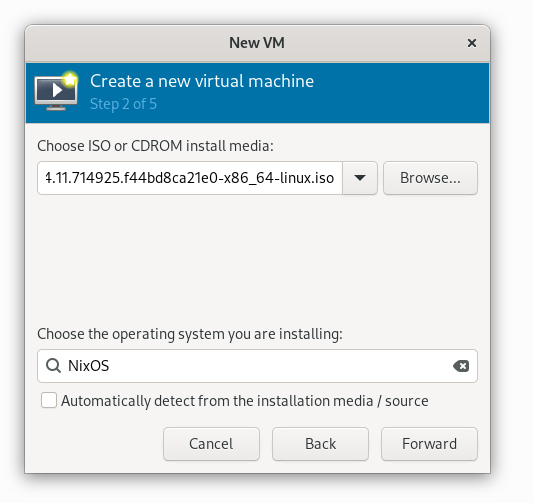
Step 2 of 5
Select the local install media radio button and select the NixOS ISO you downloaded. In the “Choose the operating system” field, you may not see NixOS listed. If not, select another linux distribution. This will not affect the installation.
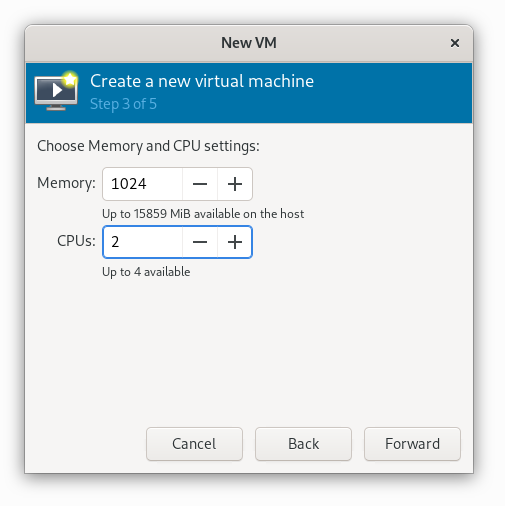
Step 3 of 5
For CPU and RAM, I will be using 2 CPUs and 4GB of RAM. You can adjust this to your liking.
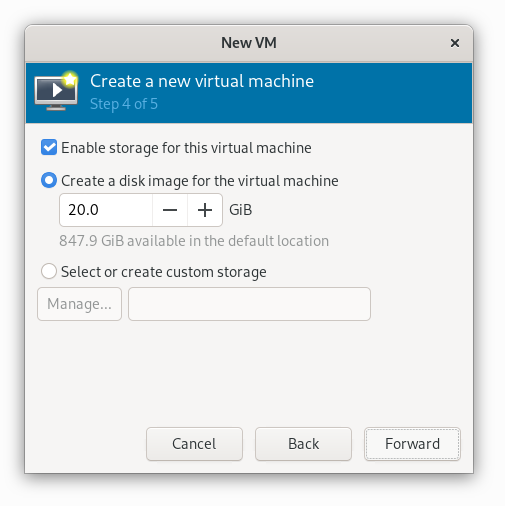
Step 4 of 5
Set the disk size. The default that libvirt chooses for NixOS is 20GB, but that will probably be too small. I will be using 200G.
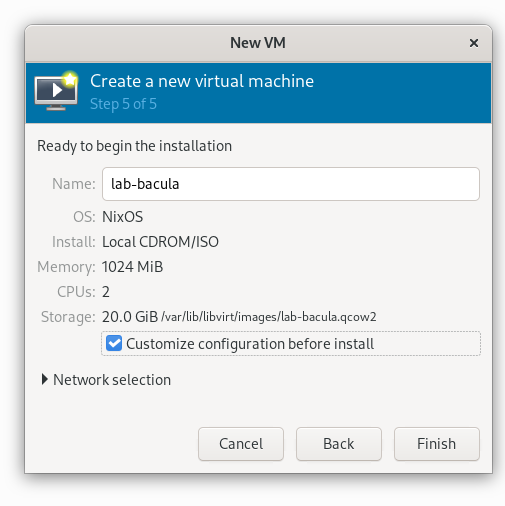
Step 5 of 5
If there are any other VM settings you want to change, you can check the “Customize configuration before install” checkbox. I will be using the default settings.
Start the VM
After finishing the VM creation, start the VM. You should see the NixOS boot screen.

Wait for boot to complete
Once the boot is complete, you will be dropped into the Gnome desktop of the live ISO.
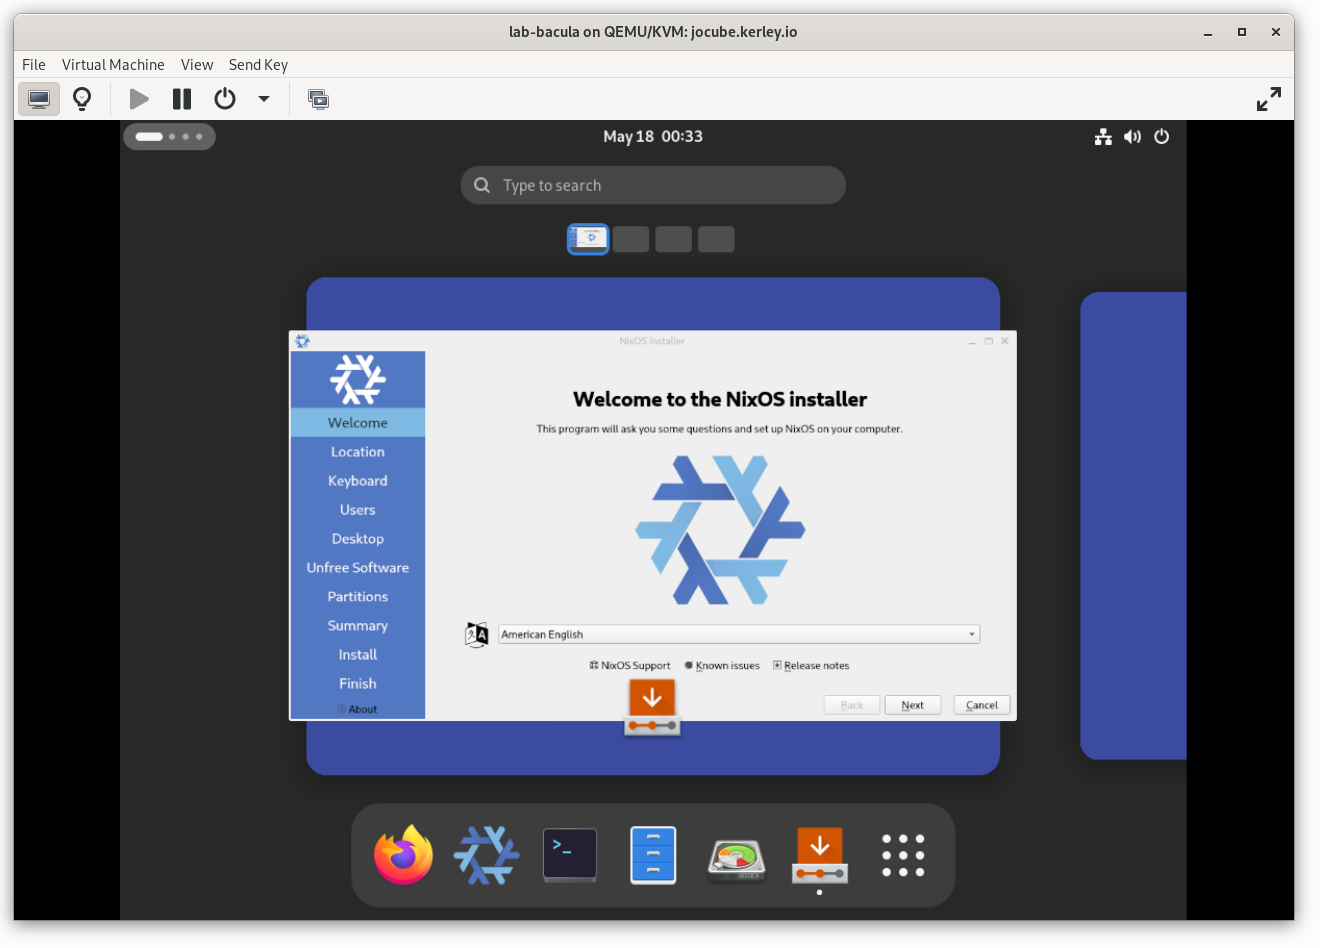
Welcome to the NixOS installer
Click the “Next” button to start the installation.

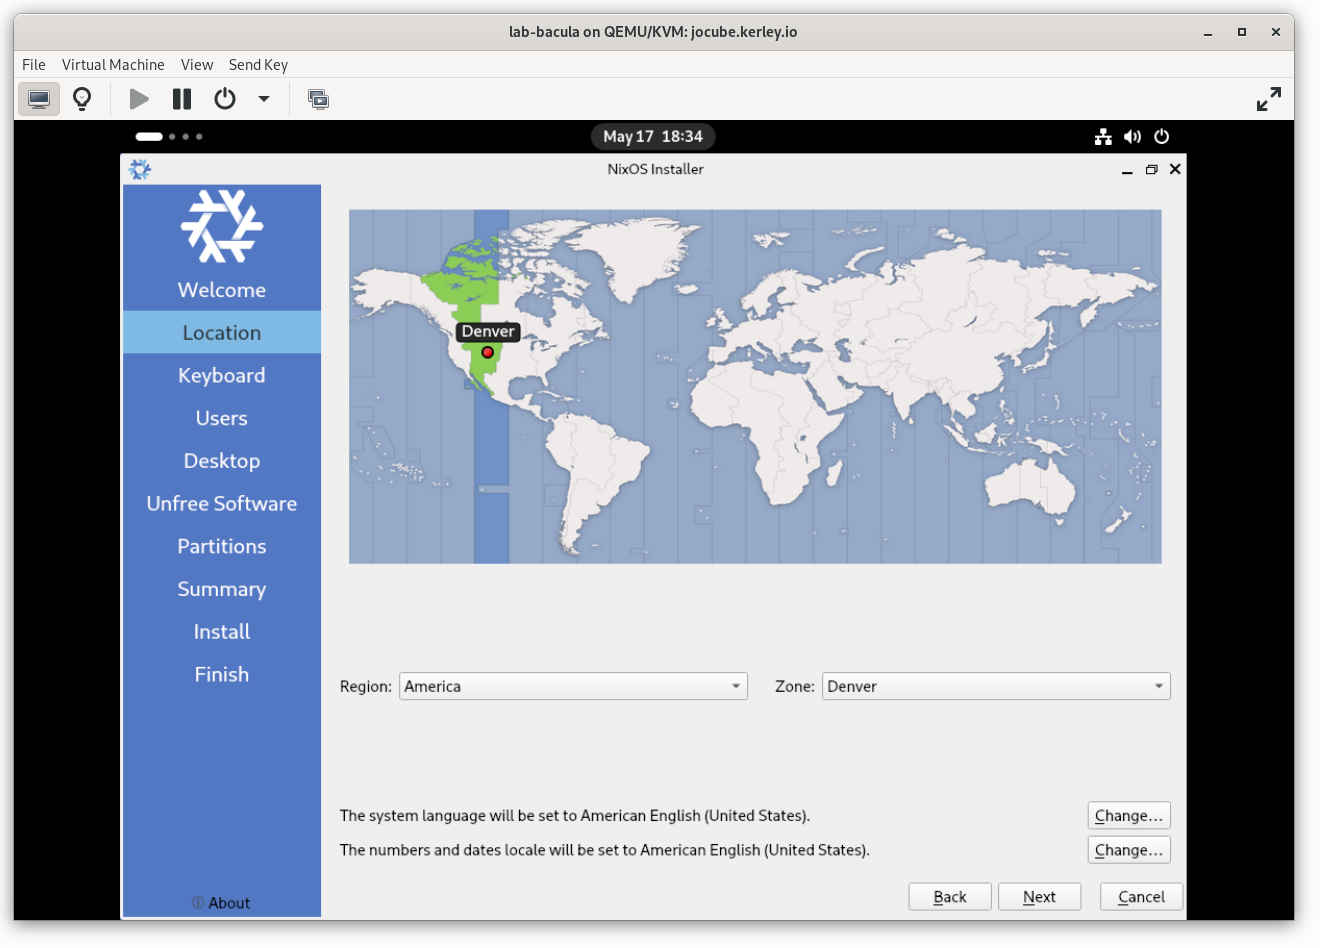
Timezone and Region
Set your timezone and region. I will be using the default values discovered by the installer.
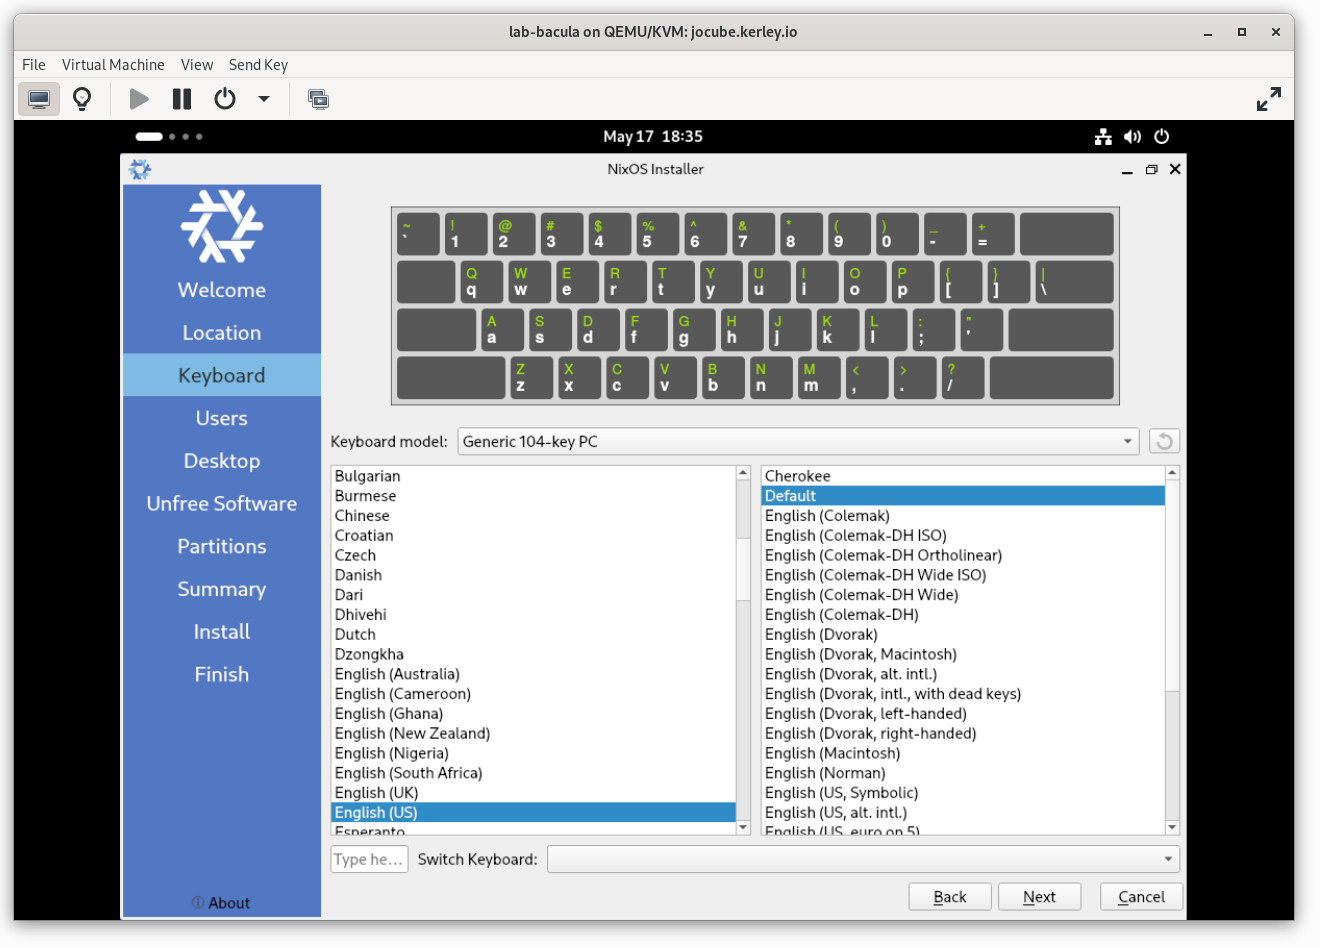
Keyboard Layout
If you are using a different keyboard layout, you can change it here. I will be using the default US layout.
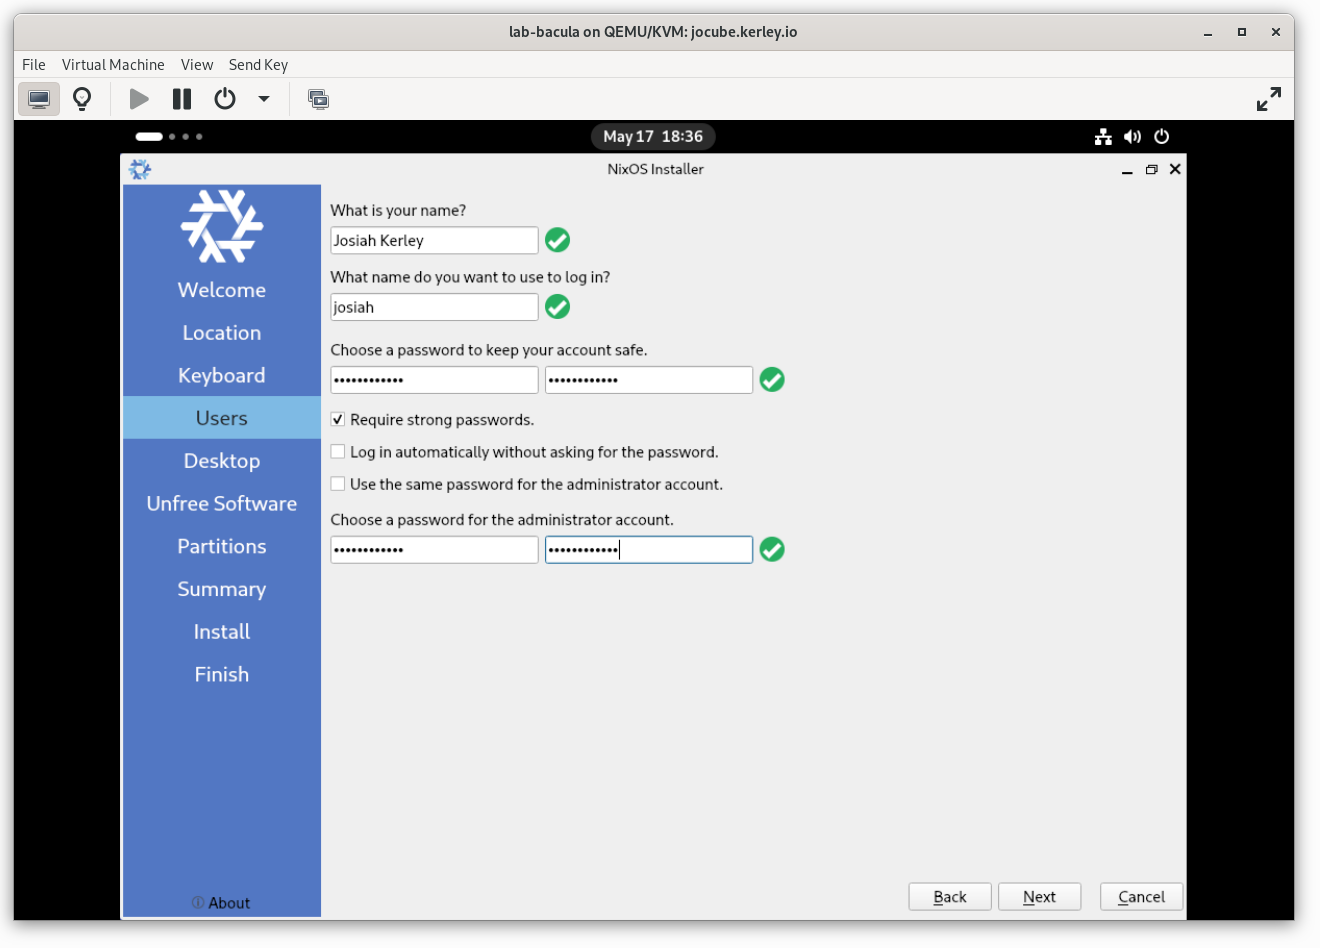
Initial User Configuration
Create the initial admin user. I will be creating myself as the admin user and setting the root password to something strong. You can set the password to whatever you want. The password will be used to log in to the system after installation.
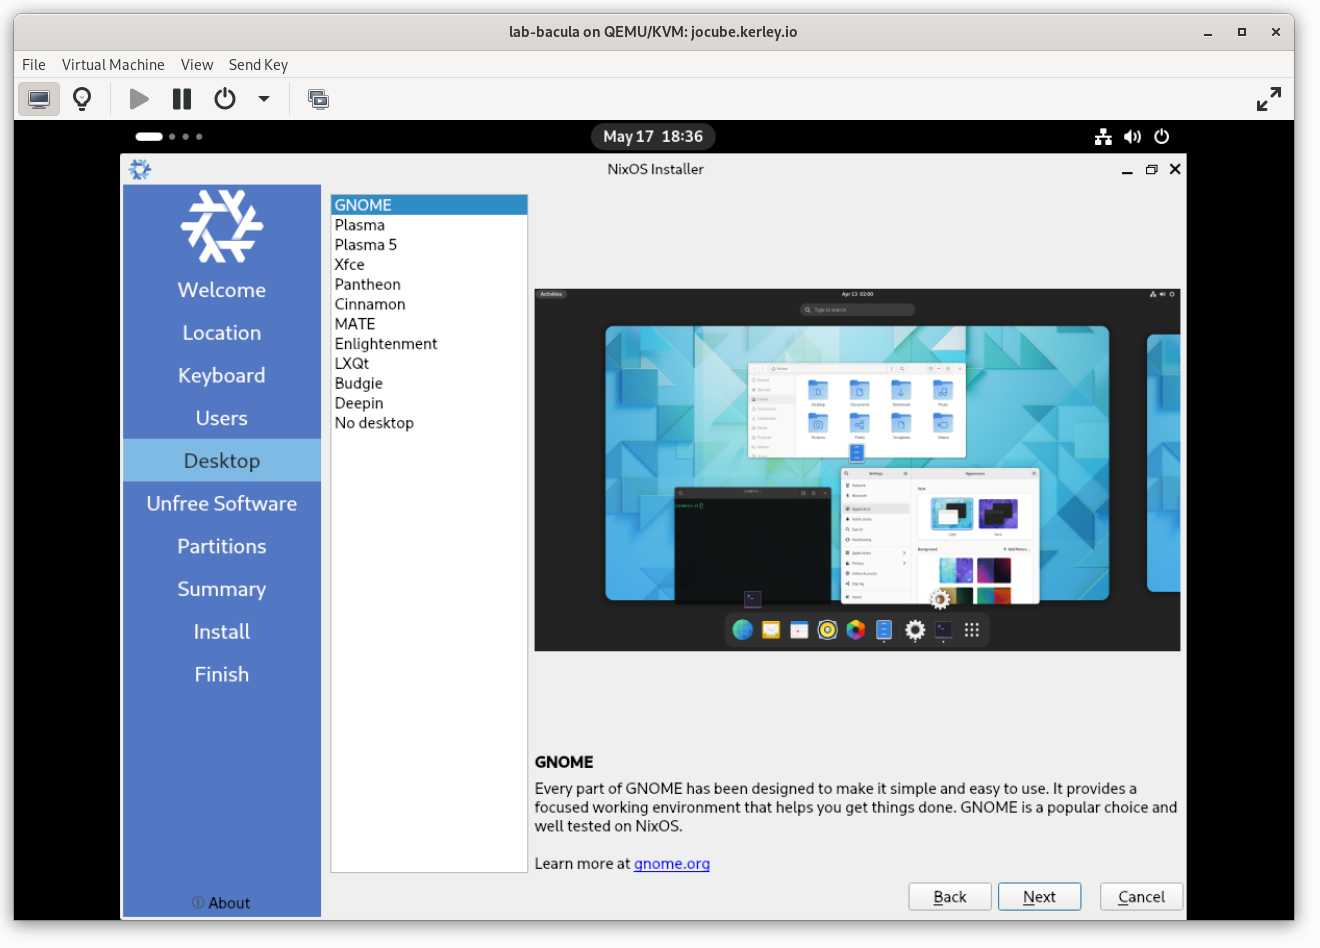
Installation Type
On this page, you can choose a starting configuration for your NixOS installation. I will be using the “GNOME” option for this quide, but realistically, in production you would probably choose the “No Desktop” option.
You can remove the desktop configuration later if you want to.
Unfree Software
You can leave this unchecked. I don’t think there’s any unfree software that we will need. This can also be enabled later if you need it for something else.

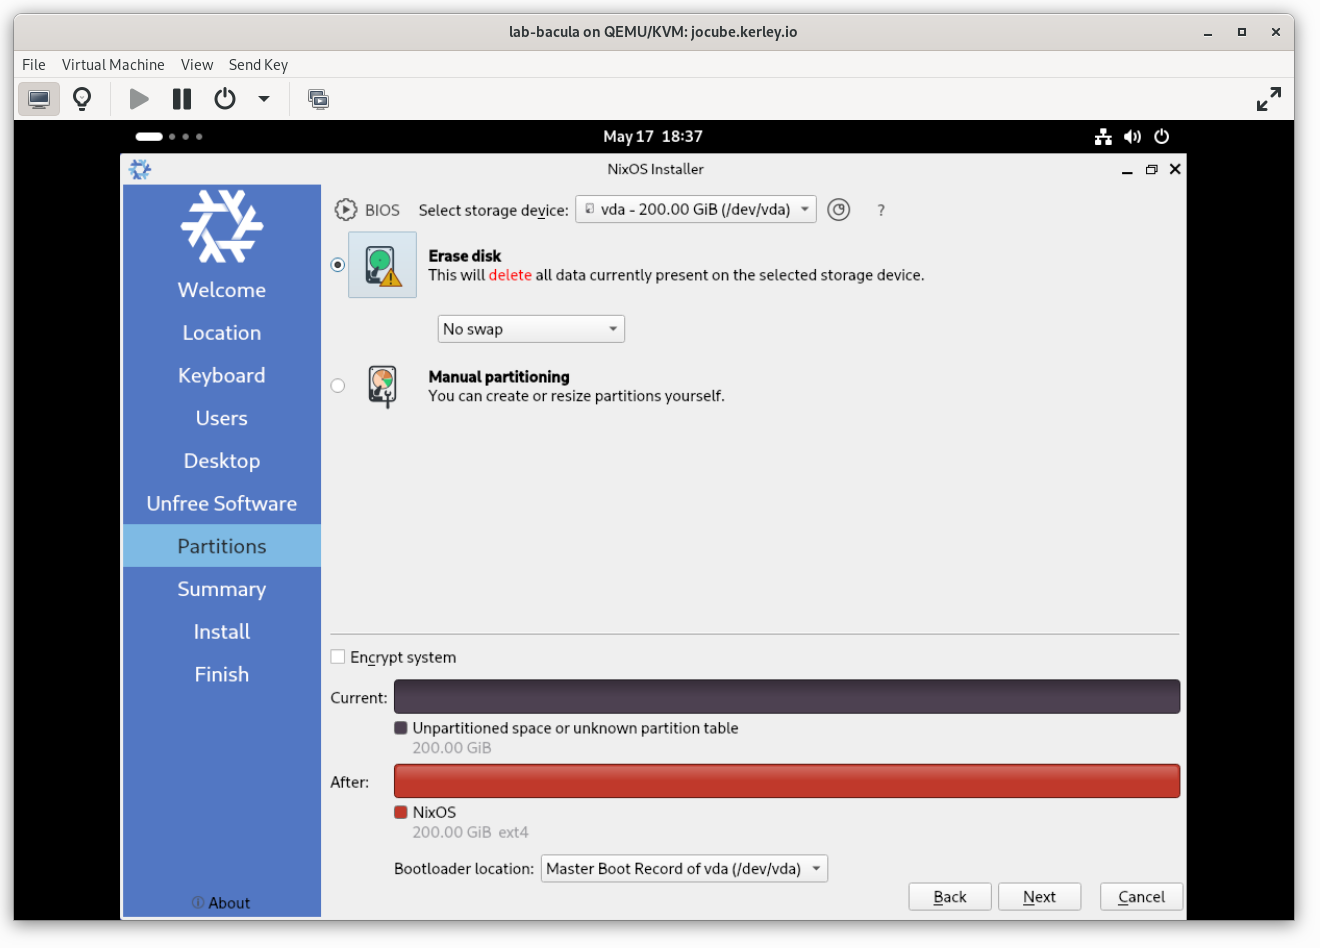
Disk Partitioning
On this page, you can choose how to partition the disk. I will select the disk /dev/vda and then select the default “Erase disk” option. This will erase the entire disk and create a single partition for NixOS. If you want to create a custom partition layout, you can choose the “Manual partitioning” option.
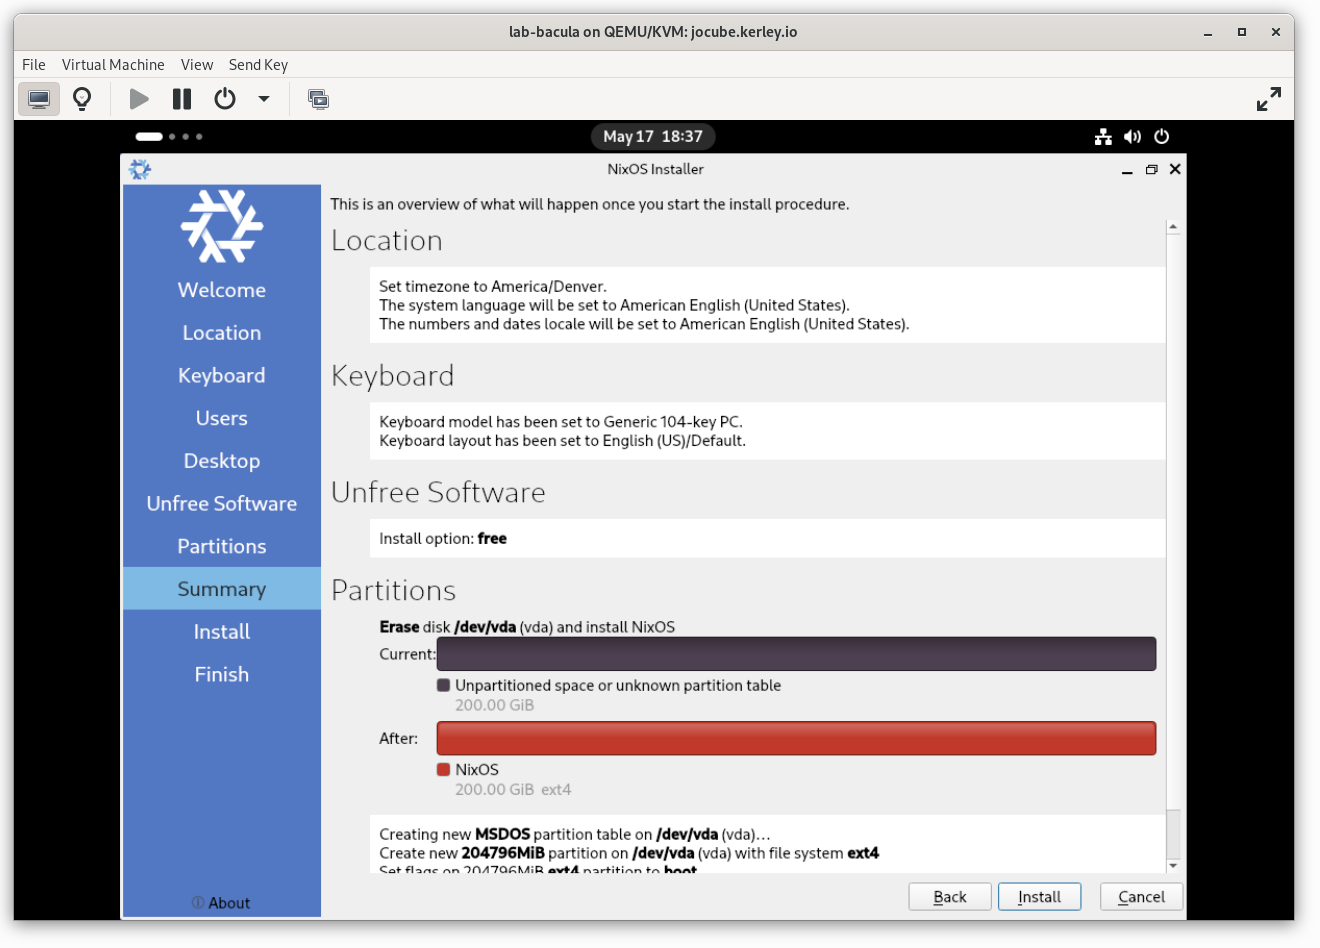
Preview
Everything looks good, I’ll go ahead and click the “Install” button to start the installation.
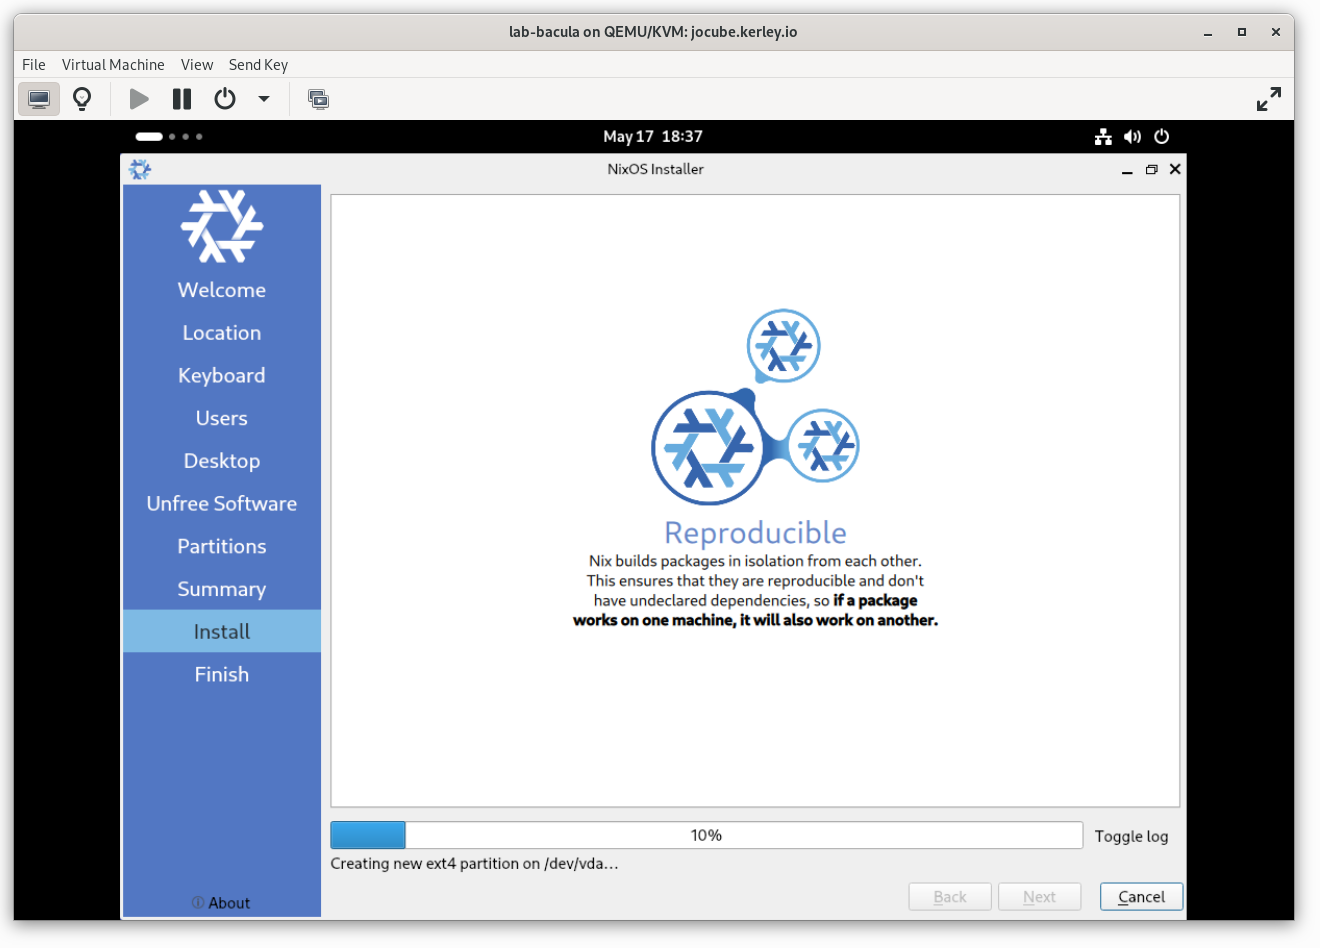
Begin Installation
The installation will take a few minutes to complete. Go grab a cup of coffee or something.
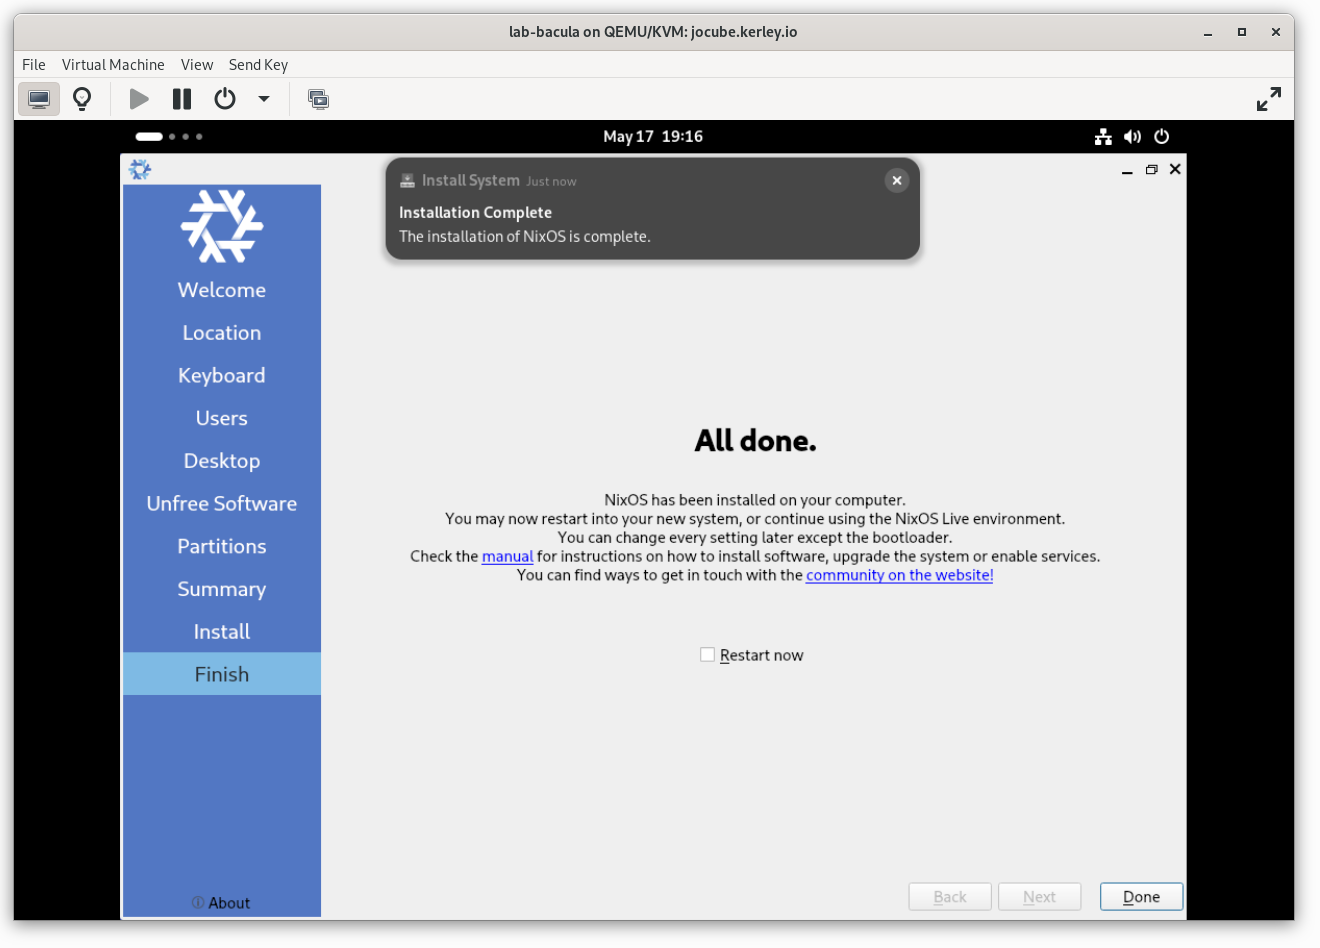
Installation Complete
Looks good. Let’s reboot into the freshly installed NixOS system.
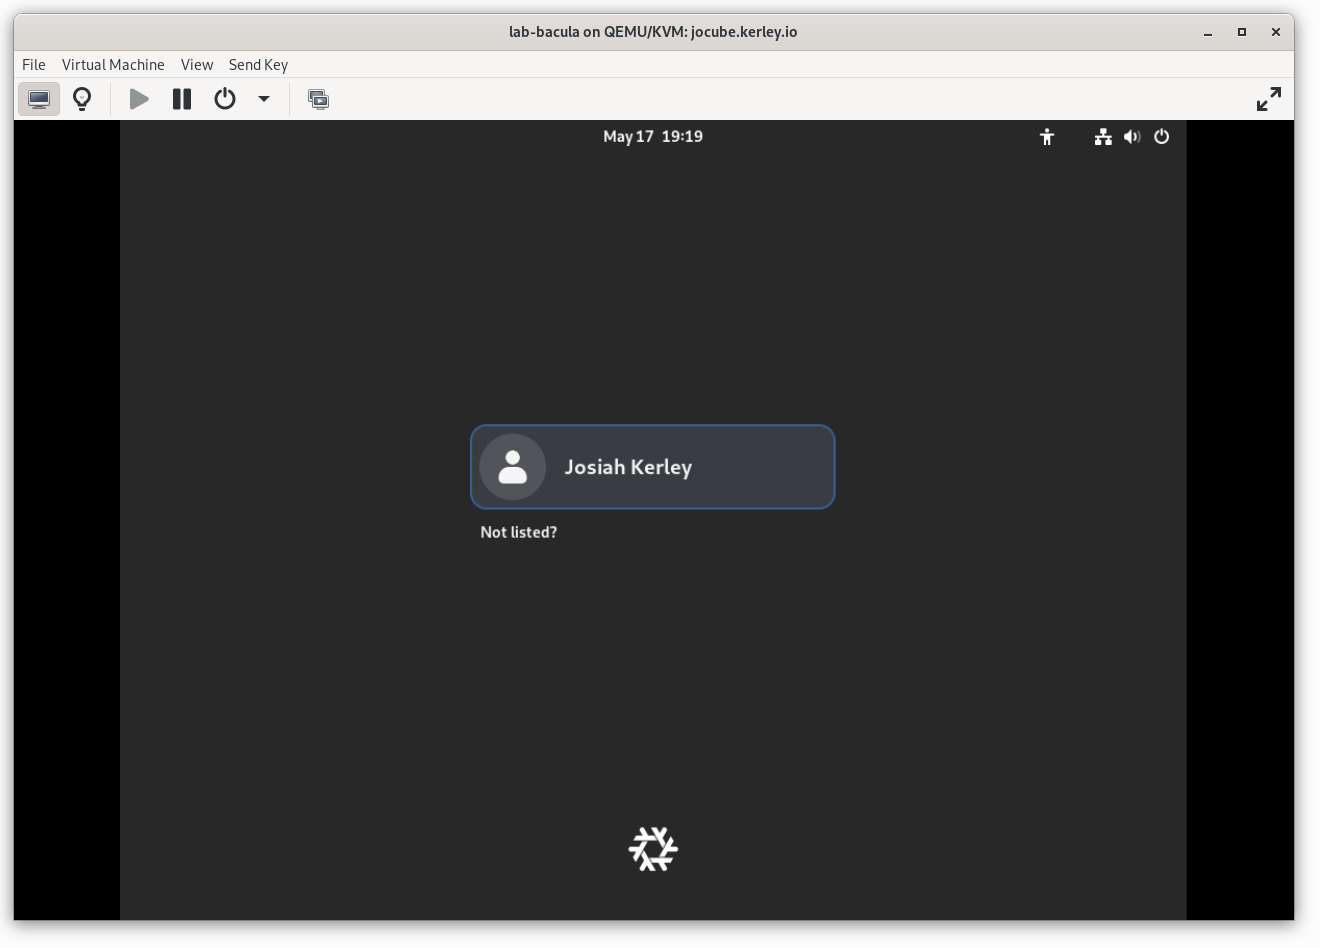
Login
Use the admin user credentials you created earlier to log in to the system.
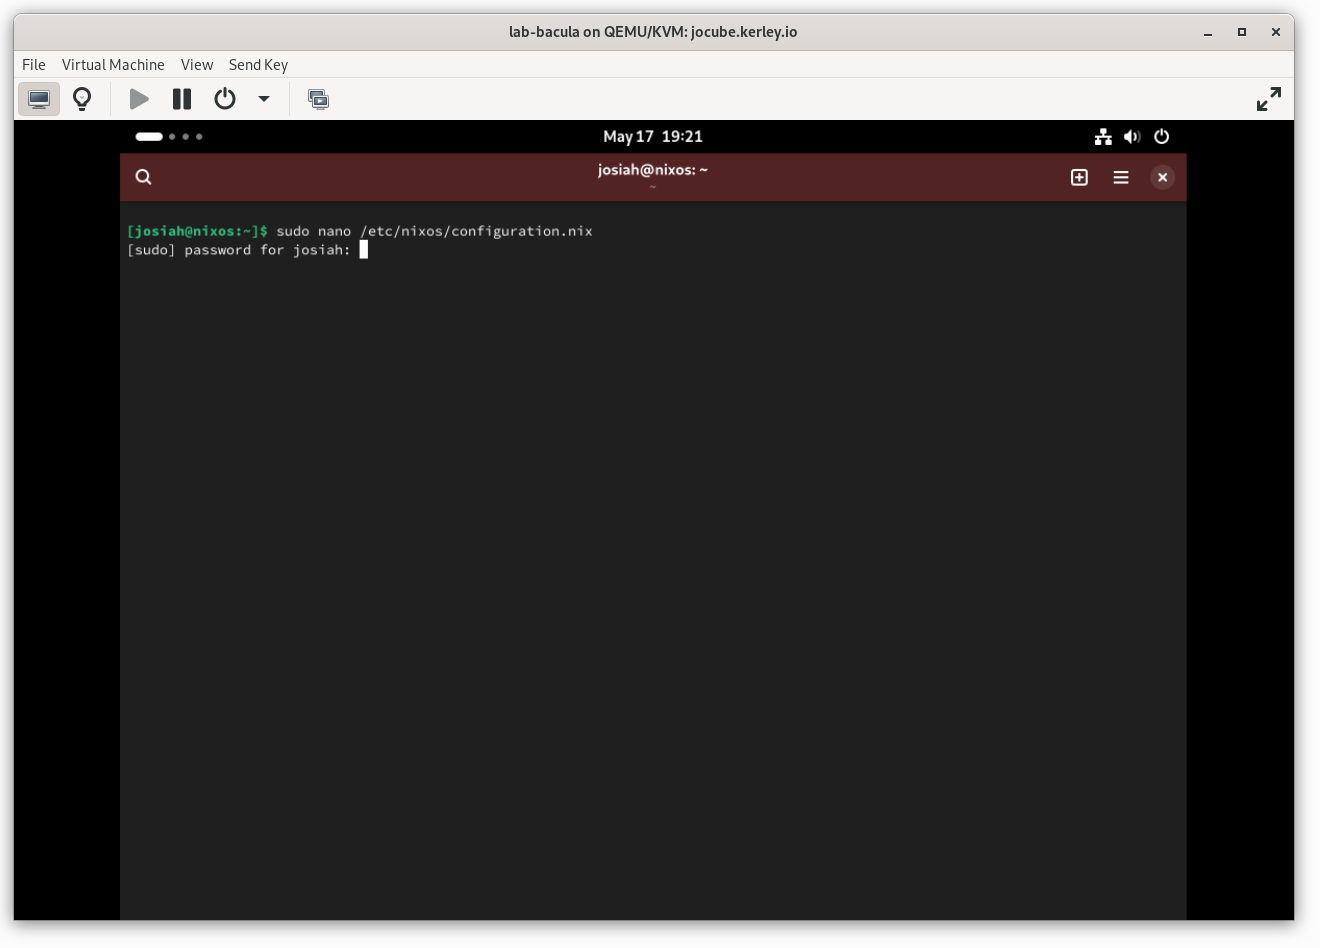
Edit the configuration file
Open up the console application so we can begin to change the system configuration.
Configuring the system
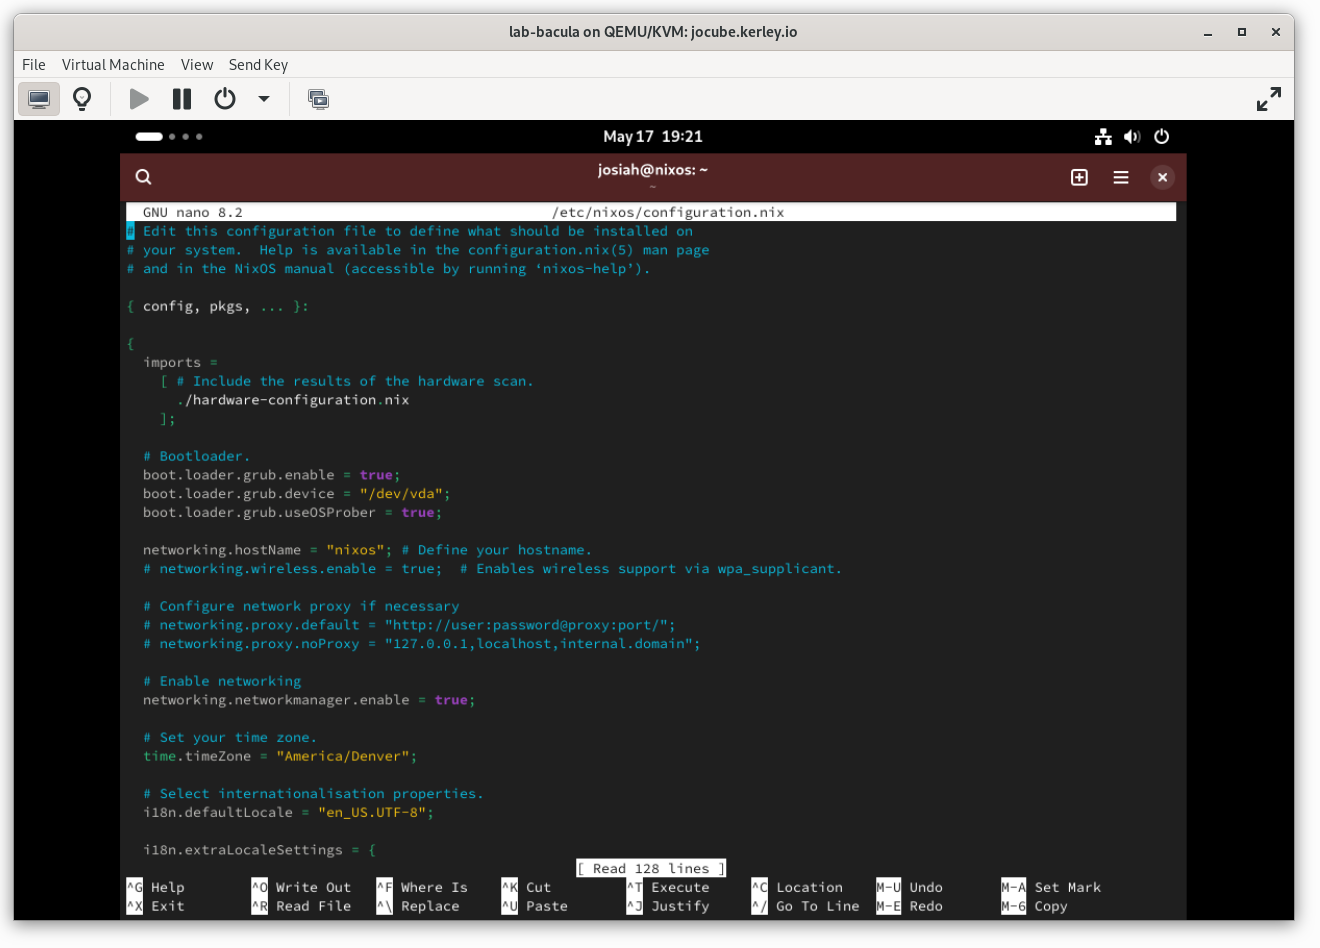
Here is the configuration.nix file that the installer generated for me.
# Edit this configuration file to define what should be installed on
# your system.  Help is available in the configuration.nix(5) man page
# and in the NixOS manual (accessible by running ‘nixos-help’).

{ config, pkgs, ... }:

{
  imports =
    [ # Include the results of the hardware scan.
      ./hardware-configuration.nix
    ];

  # Bootloader.
  boot.loader.grub.enable = true;
  boot.loader.grub.device = "/dev/vda";
  boot.loader.grub.useOSProber = true;

  networking.hostName = "nixos"; # Define your hostname.
  # networking.wireless.enable = true;  # Enables wireless support via wpa_supplicant.

  # Configure network proxy if necessary
  # networking.proxy.default = "http://user:password@proxy:port/";
  # networking.proxy.noProxy = "127.0.0.1,localhost,internal.domain";

  # Enable networking
  networking.networkmanager.enable = true;

  # Set your time zone.
  time.timeZone = "America/Denver";

  # Select internationalisation properties.
  i18n.defaultLocale = "en_US.UTF-8";

  i18n.extraLocaleSettings = {
    LC_ADDRESS = "en_US.UTF-8";
    LC_IDENTIFICATION = "en_US.UTF-8";
    LC_MEASUREMENT = "en_US.UTF-8";
    LC_MONETARY = "en_US.UTF-8";
    LC_NAME = "en_US.UTF-8";
    LC_NUMERIC = "en_US.UTF-8";
    LC_PAPER = "en_US.UTF-8";
    LC_TELEPHONE = "en_US.UTF-8";
    LC_TIME = "en_US.UTF-8";
  };

  # Enable the X11 windowing system.
  services.xserver.enable = true;

  # Enable the GNOME Desktop Environment.
  services.xserver.displayManager.gdm.enable = true;
  services.xserver.desktopManager.gnome.enable = true;

  # Configure keymap in X11
  services.xserver.xkb = {
    layout = "us";
    variant = "";
  };

  # Enable CUPS to print documents.
  services.printing.enable = true;

  # Enable sound with pipewire.
  hardware.pulseaudio.enable = false;
  security.rtkit.enable = true;
  services.pipewire = {
    enable = true;
    alsa.enable = true;
    alsa.support32Bit = true;
    pulse.enable = true;
    # If you want to use JACK applications, uncomment this
    #jack.enable = true;

    # use the example session manager (no others are packaged yet so this is enabled by default,
    # no need to redefine it in your config for now)
    #media-session.enable = true;
  };

  # Enable touchpad support (enabled default in most desktopManager).
  # services.xserver.libinput.enable = true;

  # Define a user account. Don't forget to set a password with ‘passwd’.
  users.users.josiah = {
    isNormalUser = true;
    description = "Josiah Kerley";
    extraGroups = [ "networkmanager" "wheel" ];
    packages = with pkgs; [
    #  thunderbird
    ];
  };

  # Install firefox.
  programs.firefox.enable = true;

  # List packages installed in system profile. To search, run:
  # $ nix search wget
  environment.systemPackages = with pkgs; [
  #  vim # Do not forget to add an editor to edit configuration.nix! The Nano editor is also installed by default.
  #  wget
  ];

  # Some programs need SUID wrappers, can be configured further or are
  # started in user sessions.
  # programs.mtr.enable = true;
  # programs.gnupg.agent = {
  #   enable = true;
  #   enableSSHSupport = true;
  # };

  # List services that you want to enable:

  # Enable the OpenSSH daemon.
  # services.openssh.enable = true;

  # Open ports in the firewall.
  # networking.firewall.allowedTCPPorts = [ ... ];
  # networking.firewall.allowedUDPPorts = [ ... ];
  # Or disable the firewall altogether.
  # networking.firewall.enable = false;

  # This value determines the NixOS release from which the default
  # settings for stateful data, like file locations and database versions
  # on your system were taken. It‘s perfectly fine and recommended to leave
  # this value at the release version of the first install of this system.
  # Before changing this value read the documentation for this option
  # (e.g. man configuration.nix or on https://nixos.org/nixos/options.html).
  system.stateVersion = "24.11"; # Did you read the comment?

}
Let’s go ahead and change the hostname and set a domain name. Replace the line
networking.hostName = "nixos"; # Define your hostname.
with
  networking.hostName = "bacula"; # Define your hostname.
  networking.domain = "lab";
and exit the editor. Save the changes when prompted.
Now to apply the changes we made to the configuration file, run the following command:
sudo nixos-rebuild switch
This will apply the hostname change and add the domain name to the system.
Output:
[josiah@nixos:~]$ sudo nixos-rebuild switch
building Nix...
building the system configuration...
these 9 derivations will be built:
  /nix/store/14i4y957mbnza260snvipblvp24jlwwl-etc-hostname.drv
  /nix/store/96g1jd5pmsmf6biwbf2iazhdr6drifap-avahi-daemon.conf.drv
  /nix/store/dhxpgxfpkpjizz5dfyjxq6yqdl9vcjja-unit-avahi-daemon.service.drv
  /nix/store/rczvsn6s8r2wz8jbrdw1bi6dqyl423q6-unit-domainname.service.drv
  /nix/store/skdkdk5lvi6nfaj30ffdscv60b9b4qiq-system-units.drv
  /nix/store/zdn4sh70084i66iasrmnm5msa9vjfdsj-string-hosts.drv
  /nix/store/zijyazjg126iqmvcwwmp6rar1iwbciyw-hosts.drv
  /nix/store/asn80b603w3azaax6r5ymdkz228ggi09-etc.drv
  /nix/store/9h6qvf4fg928058dyvdi0ik7zflkvdhd-nixos-system-bacula-24.11.710905.a0f3e10d9435.drv
building '/nix/store/14i4y957mbnza260snvipblvp24jlwwl-etc-hostname.drv'...
building '/nix/store/96g1jd5pmsmf6biwbf2iazhdr6drifap-avahi-daemon.conf.drv'...
building '/nix/store/zdn4sh70084i66iasrmnm5msa9vjfdsj-string-hosts.drv'...
building '/nix/store/rczvsn6s8r2wz8jbrdw1bi6dqyl423q6-unit-domainname.service.drv'...
building '/nix/store/dhxpgxfpkpjizz5dfyjxq6yqdl9vcjja-unit-avahi-daemon.service.drv'...
building '/nix/store/zijyazjg126iqmvcwwmp6rar1iwbciyw-hosts.drv'...
building '/nix/store/skdkdk5lvi6nfaj30ffdscv60b9b4qiq-system-units.drv'...
building '/nix/store/asn80b603w3azaax6r5ymdkz228ggi09-etc.drv'...
building '/nix/store/9h6qvf4fg928058dyvdi0ik7zflkvdhd-nixos-system-bacula-24.11.710905.a0f3e10d9435.drv'...
updating GRUB 2 menu...
Warning: os-prober will be executed to detect other bootable partitions.
Its output will be used to detect bootable binaries on them and create new boot entries.
lsblk: /dev/mapper/no*[0-9]: not a block device
lsblk: /dev/mapper/block*[0-9]: not a block device
lsblk: /dev/mapper/devices*[0-9]: not a block device
lsblk: /dev/mapper/found*[0-9]: not a block device
stopping the following units: avahi-daemon.service, avahi-daemon.socket
activating the configuration...
setting up /etc...
reloading user units for gdm...
reloading user units for josiah...
restarting sysinit-reactivation.target
starting the following units: avahi-daemon.socket
the following new units were started: run-credentials-systemd\x2dtmpfiles\x2dresetup.service.mount, sysinit-reactivation.target, systemd-tmpfiles-resetup.service
Conclusion
In this post, we have installed NixOS using the GUI installer and configured the system to use a custom hostname and domain name. We will be using this configuration as the base for our Bacula lab. In the next post, we will go over Bacula from an architectural standpoint so that we have key terms to talk to when we begin the code configuration.
Related posts
bacula-on-nixos
- Configuring a Bacula client and it's File Daemon - 17 May 2025
- Configuring the Bacula Storage Daemon on NixOS - 10 May 2025
- Configuring the Bacula Catalog and Director on NixOS - 03 May 2025
- Architecture of Bacula - 26 Apr 2025
- Building an enterprise backup solution with Bacula and NixOS - 17 Apr 2025